Let’s go over how to add a photo gallery to one of your pages. As always, make sure that you are in the “Page Editor”.
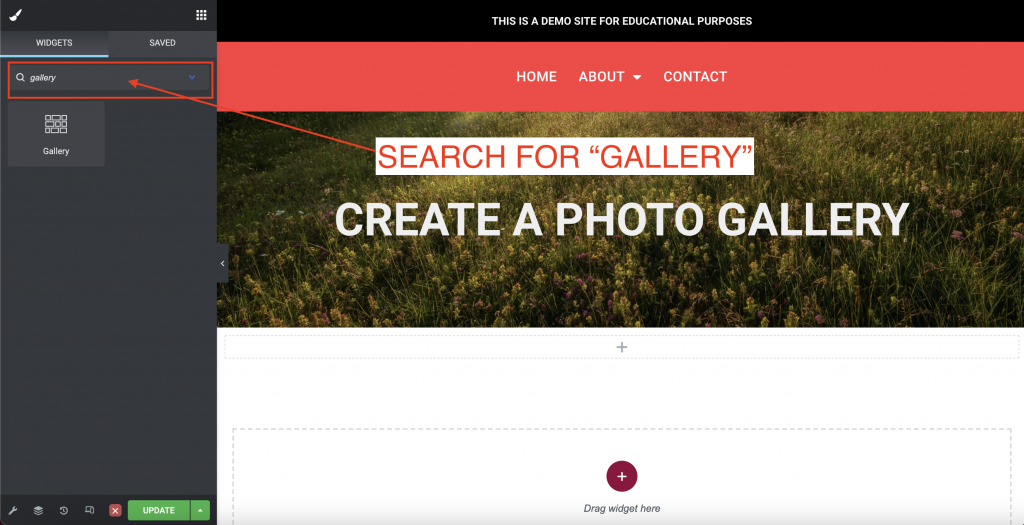
Search Widgets for “Gallery”
Search the widget library for “Gallery”.
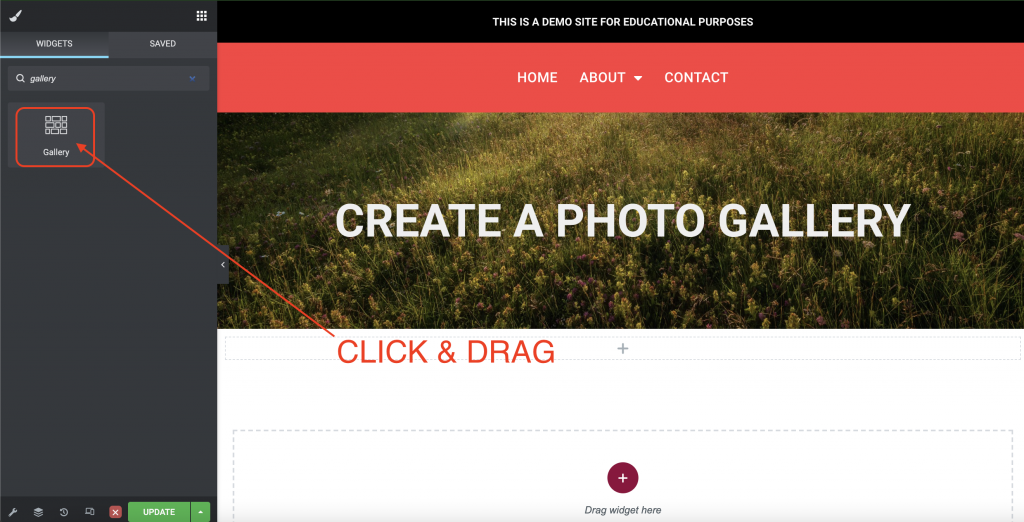
Click & Drag Widget
Once you have found the gallery widget, click and drag it where you want it to appear.
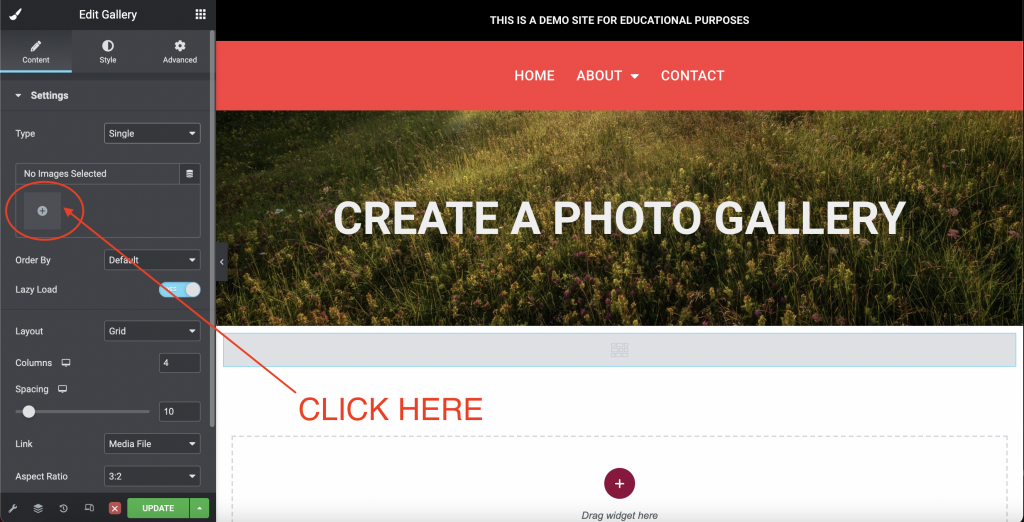
Open Media Library
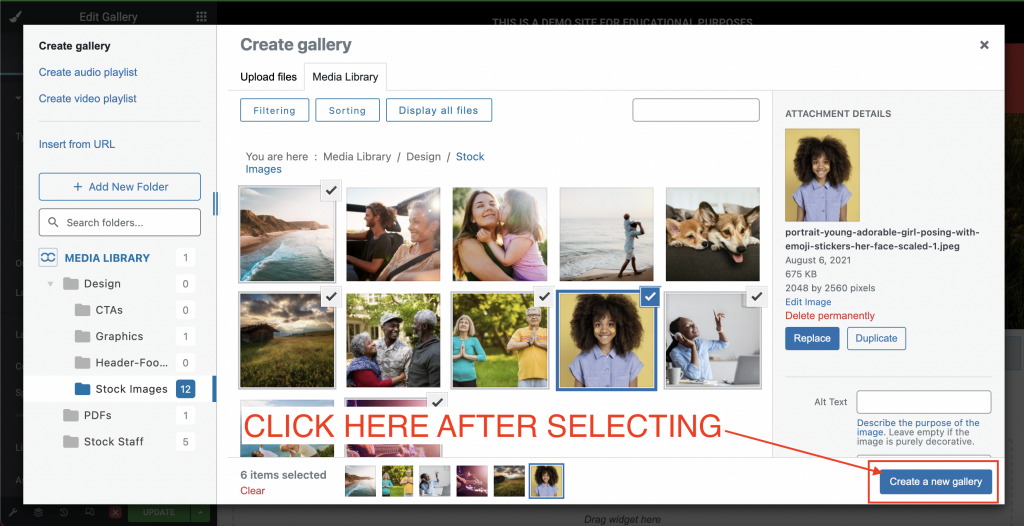
Once the settings appear, you will want to add images to your gallery. Do so by clicking here:
Choose Images
This will bring up your media library where you can select all of the images you wish to appear in the gallery. Once the images are chosen, click “Create New Gallery”.
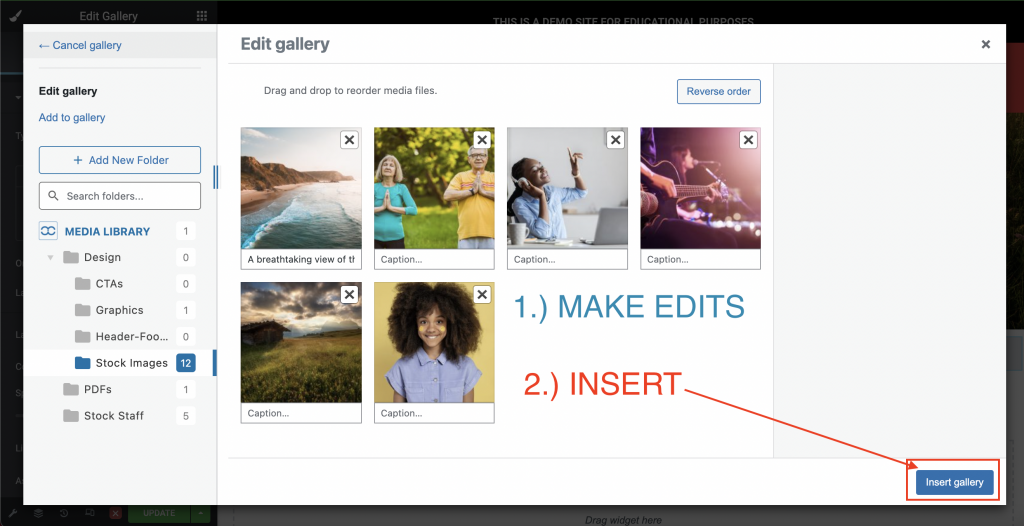
Edit & Insert
Once you click “Create New Gallery” you will be brought to a screen that allows you to edit your selection. Once you approve click “Insert Gallery”.
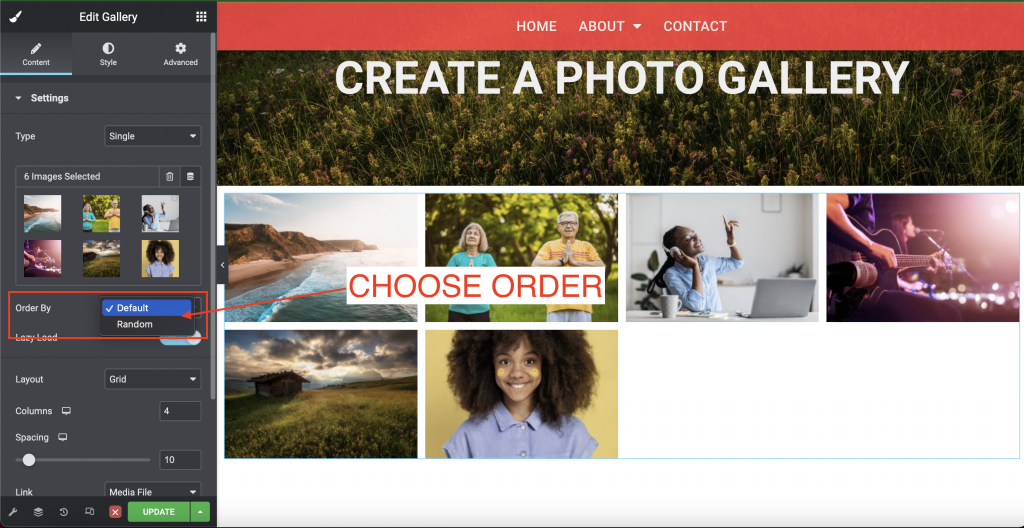
Choose Order
If you wish for the images to appear in the selected order click “Default”. If you wish for the images to be in a random order click “Random”.
Choose Layout
The layout is how the images appear. Grid crops all images to the same dimensions

Justified lets you set the height for each row, and adjusts to different widths per image:

Masonry maintains the same image width and adjust to varying heights:

Add Image Border
Under the “Style” tab, you can add and adjust a border around the images. You can choose a border color, width, and radius.

Add Hover Animation
Hover animation is the action of the image when you hover over it.

You can choose the following hover animations:
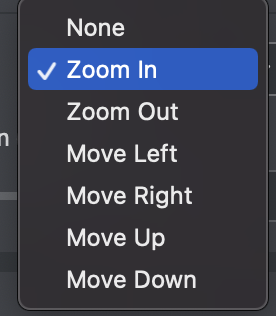
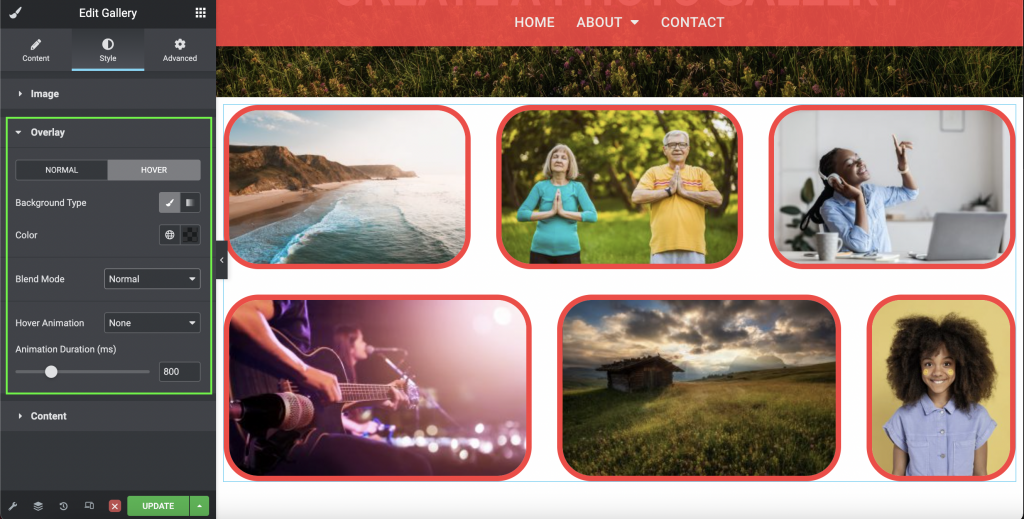
Image Overlay
The image overlay is most useful for hovering to show the viewer that they can click on the image. Let’s look at the gallery in it’s normal state vs. when the viewer hovers over an image.
Here is the gallery without hovering:

Here it is when you hover over an image. For this example we are hovering over the ocean photo:

To change the hover overlay settings click here:
Update and Exit
Once your gallery looks ready, be sure to save your changes by clicking “Update” before exiting out “X”.